We love making our own toys and thought these little wooden gnomes would make a great addition of our box of building blocks.
I'm a strong advocate for the use of proper tools with children. Given clear instruction, supervision and consideration to age, I believe children can be taught to use scissors, hot glue guns, drills, saws, hammers and lots of other tools. A sharp knife is probably the most challenging of tools as, if used incorrectly it can cause more serious damage. However, whittling is a great way to introduce working with knives.
MATERIALS:
- Tree branch - new wood works best as it is softer and easier to carve.
- A sharp whittling knife or Stanley knife
- Saw
- Acrylic paints
- Permanent marker
HOW TO:
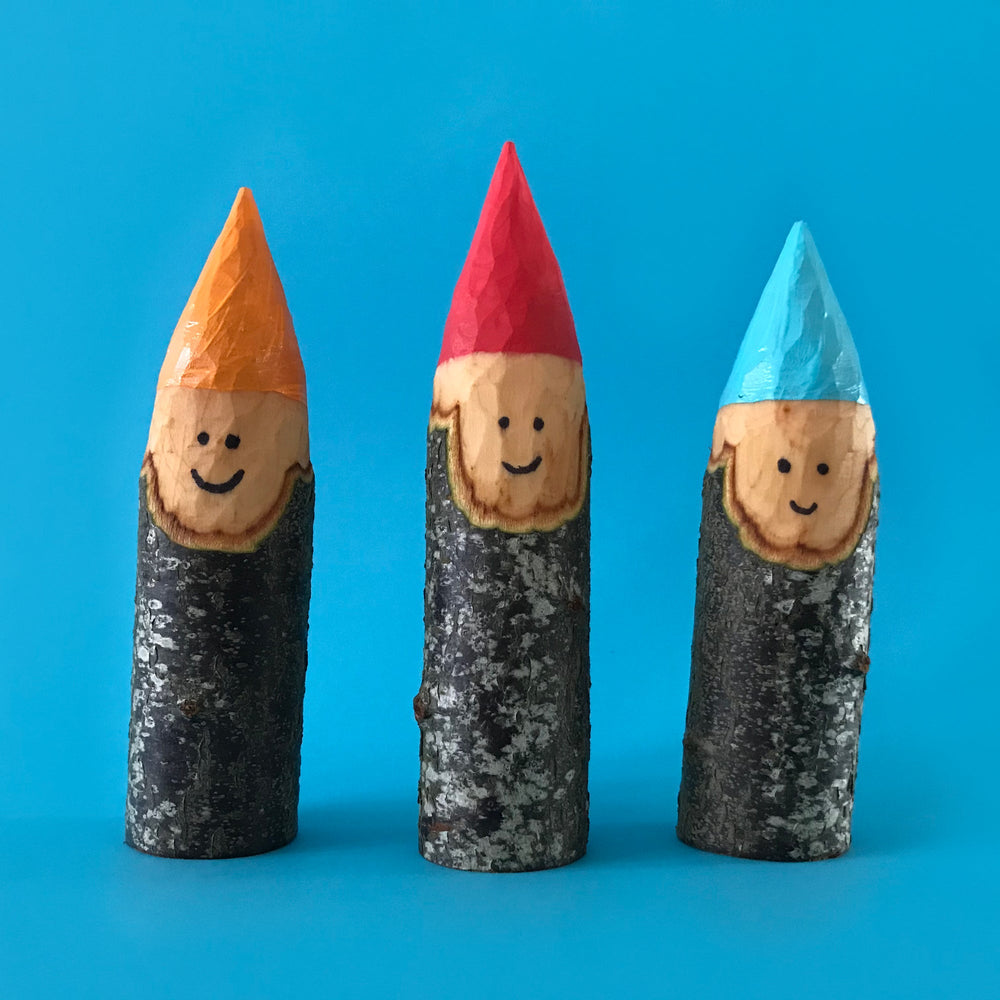
Begin by cutting your tree branch into lengths, our sections of wood were approximately 4cm in diameter and 12-15cm long. Using a sharp knife and always working away from your body, begin to whittle a pointed shape on one end of your wood to make the gnomes head.

Once you have whittled your gnome shapes, now it is time to decorate them. We used acrylic paints to add the colourful hats and a permanent marker to draw on the face.
We named our gnomes Bertie, Gertie and Bob!

Happy crafting friends!
SHOP OUR FUN & EASY PRINTABLE ACTIVITY SHEETS
Shop our range of awesome printable activity sheets and colouring pages. We have everything your little artist needs to explore famous artists, STEM projects, animals, magical worlds and much more.
See our full ranges of PRINTABLE ACTIVITY SHEETS HERE >>>