I can't claim credit for inventing this process, I think I first saw it on Pinterest years ago, but I can tell you it is fun. If you have any sensory seeking neurodiverse young people in your life, this project will be a hit. The shaving foam feels great squished through your fingers, once you have finished with the marbling process. I warn you though, it can get messy!
MATERIALS:
- A large can of shaving foam
- A baking tray, BBQ tray or similar container for the foam which is slightly larger than your paper size
- Liquid watercolour inks
- Dropper or pipette
- Cartridge paper (or any paper - slightly thicker is better)
- Scraper
- Thin wooden stick or pencil to mix
HOW TO:
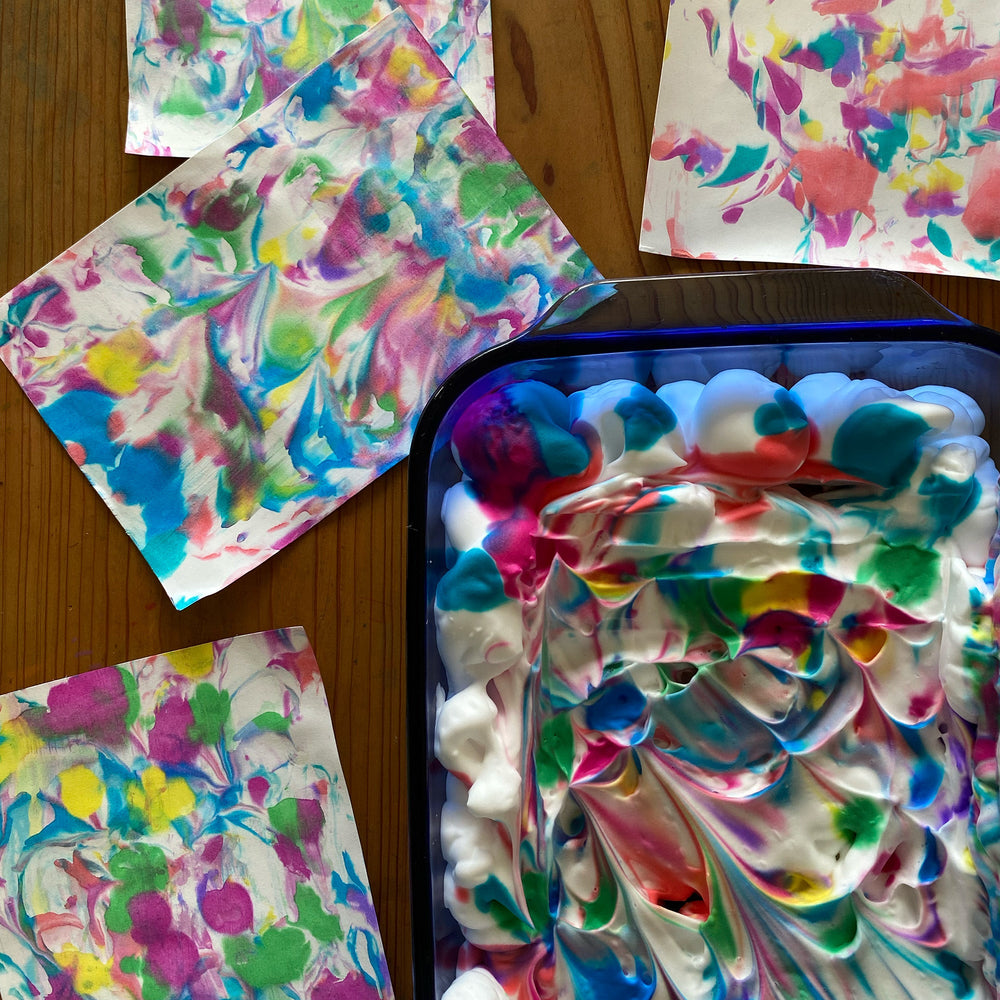
Spray shaving foam into your tray in an even layer about 3-5cm thick. Using a dropper or pipette, add drops of different colour inks onto the shaving foam. Try using colours that compliment each other and mix well.

Using a wooden stick, gently move the stick through the shaving foam creating swirls and patterns. Don't over mix the foam and inks.

Carefully lay a sheet of paper onto the shaving foam pushing down gently so all the paper touches the shaving foam layer.

Peel the paper off the shaving foam, place on a flat surface and remove the excess shaving foam with a scraper. You will be left with a cool marbled pattern of inks on the paper. Lay flat or hang your paper to dry.

You can repeat the process several times with the same try of shaving foam adding more inks each time.

SHOP OUR FUN & EASY PRINTABLE ACTIVITY SHEETS
Shop our range of awesome printable activity sheets and colouring pages. We have everything your little artist needs to explore famous artists, STEM projects, animals, magical worlds and much more.
See our full ranges of PRINTABLE ACTIVITY SHEETS HERE >>>