Screen printing with kids is so fantastic, especially making t-shirts. It's so exciting for children (and me!) to be able to come up with a simple design idea and print it onto to a shirt that you can actually wear. The technique I share below is a simplified way of doing screen printing, reducing the need for chemicals and specialist equipment. However, it does mean you can only print 2-3 copies of each design.
MATERIALS:
- A silk screen and squidgy
- Acrylic screen printing inks for fabric
- Paper to make a stencil
- Scissors and a craft knife or scalpel
- T-shirts or fabric to print onto - we used secondhand t-shirts
- An iron
HOW TO:
The first step is to create your stencil, the size of this will depend on the size of the screen you are using. You want the size of your paper to be larger than the screen but your design needs to fit within the dimensions of the screen.
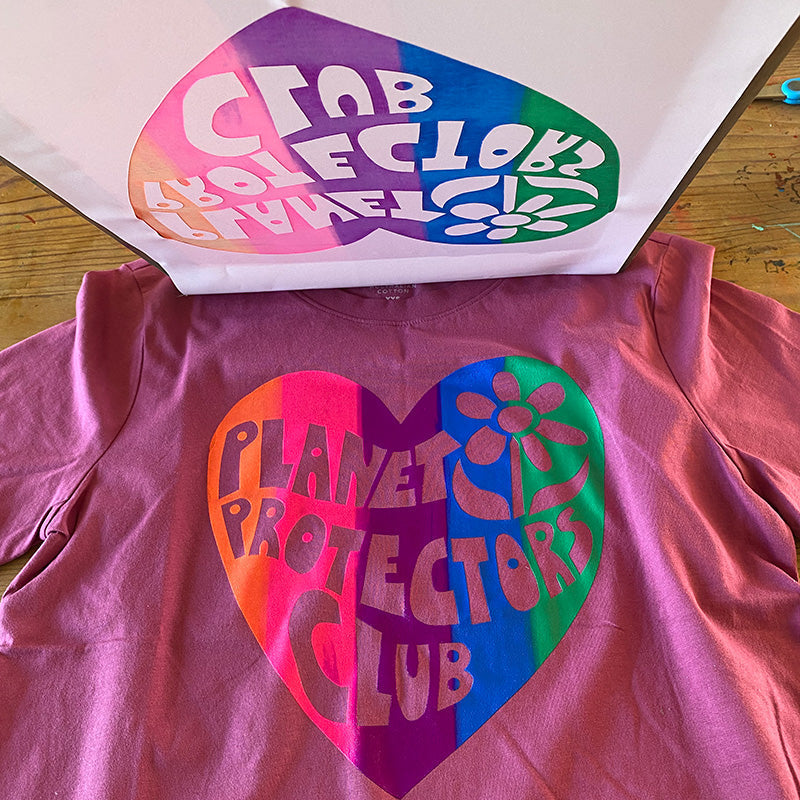
The simplest way to create a design with kids is to get them to draw a large shape from the paper, then cut out lettering or characters from paper that fit inside that shape. Anywhere you have paper, the ink won't go onto the fabric. You can see some examples of designs we have created in the images below.

If you are printing onto a t-shirt, lay it out on a flat surface and place a sheet of paper in-between the 2 layers of the shirt to prevent any ink from leaking through from the top layer to the back.
Carefully lay out your stencil pieces into the fabric and place the silk screen on top.

Using a spoon, spread ink along the top of the screen. For the next part it is handy to have 2 people. One person holds the screen firmly in place and the other pulls the squidgy down the screen in a firm and smooth motion spreading the ink. Do this a few times to make sure you have an even covering of ink across the stencil.
Carefully lift the screen off the fabric in a smooth action. The paper stencil will stick to the back of the screen. You can then use this to create 2-3 more prints using the same stencil.

Once you have finished printing, remove the paper from the back of the stencil and wash the screen immediately. Letting the ink dry will ruin the screen by blocking the holes in the silk.
Carefully lay or hang your t-shirts to dry. Once the ink is dry, iron the ink, as per the instructions on your specific ink, to make the design permanent.

In the past, we have created t-shirts as gifts for friends, made shirts to wear to a protest and made them to sell at a market to raise funds for a charity. The possibilities are endless!
Happy art making friends!
SHOP OUR FUN & EASY PRINTABLE ACTIVITY SHEETS
Shop our range of awesome printable activity sheets and colouring pages. We have everything your little artist needs to explore famous artists, STEM projects, animals, magical worlds and much more.
See our full ranges of PRINTABLE ACTIVITY SHEETS HERE >>>