The original idea for this project came from the fantastic JUMBLE TREE kids craft blog. I urge you to go and check it out, Tracey is truly an master of egg carton craft and she is pretty handy with a toilet roll too!
I will start off by saying right now, no children were involved in the making of this chameleon, this one was 100% a Mumma craft. Although they did love playing with him when he was finished!
MATERIALS:
- Egg cartons
- Paints
- Glue
- Scissors
HOW TO:
Begin by cutting out the tall central spikes from your egg cartons. The more you have, the longer your animal will be. By the time you have read this blog post, you will be off to the market to open all the egg cartons and check out which ones are the best shape to building with. Not all egg cartons are created equal!

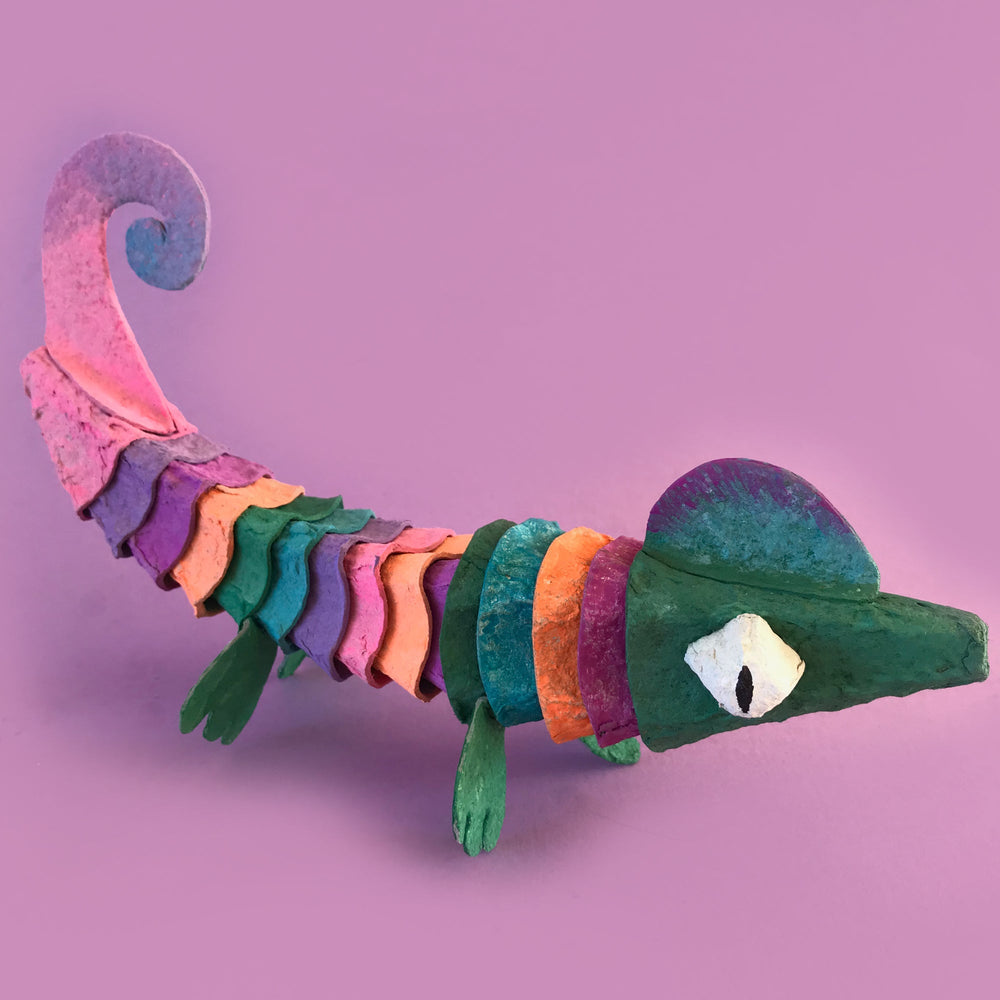
To make the head, cut 2 crest shapes from the egg carton lid with tabs along the base so they can be attached to the cone shape. Stick the 2 crest shapes together back to back and attach to the head cone with glue. To make the tail, do the same, cutting a curly tail shape from the egg carton lid.

Cut the tops off your cone shapes, this will allow you to curve the body shape when you glue the cones together.

Use 2 of the cut off points for your chameleon eyes and cut 4 leg from another part of the egg carton. Now paint all your body parts, we used rainbow colours for our chameleon. If you are using a darker colour egg carton, it can take a few layers of paint to cover the egg carton nicely.

Once your paint has dried you can glue your chameleon body parts together, we used multi purpose craft glue which takes a while to dry but hot glue would also work.


Happy crafting friends!
SHOP OUR FUN & EASY PRINTABLE ACTIVITY SHEETS
Shop our range of awesome printable activity sheets and colouring pages. We have everything your little artist needs to explore famous artists, STEM projects, animals, magical worlds and much more.
See our full ranges of PRINTABLE ACTIVITY SHEETS HERE >>>