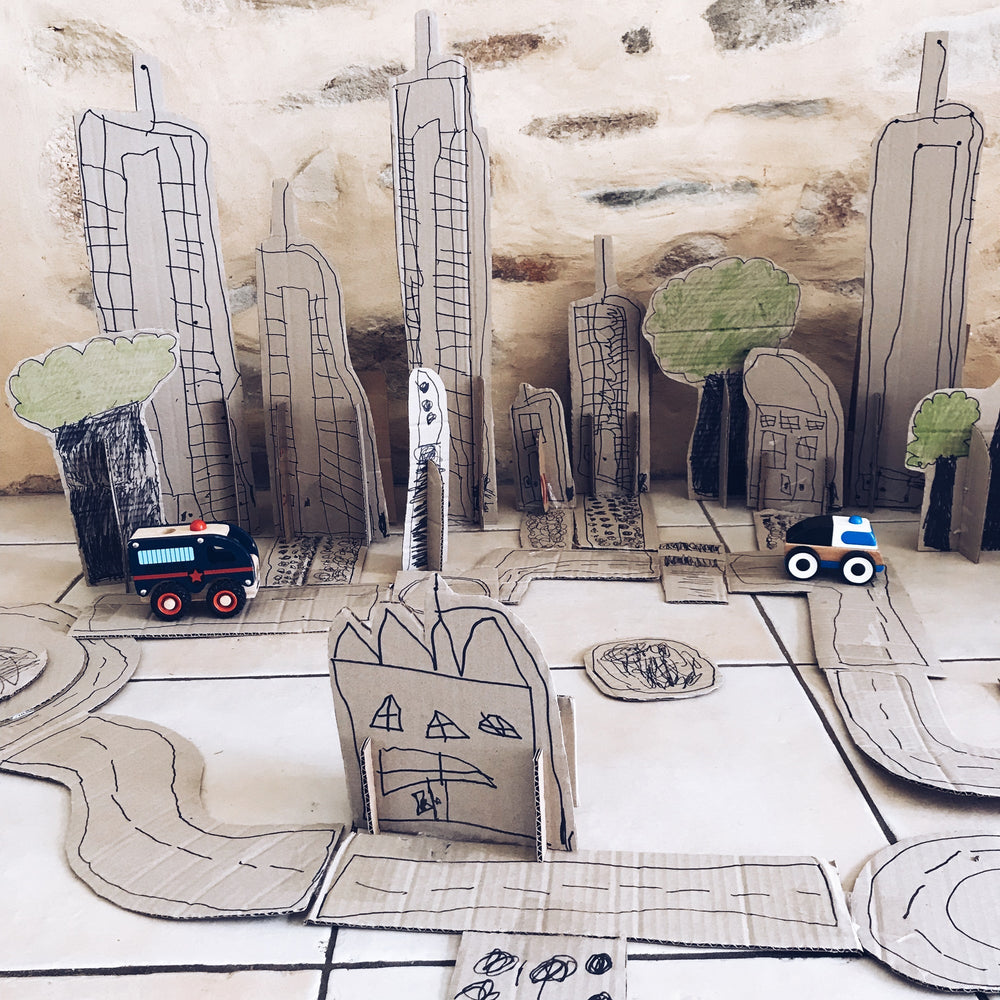
CARDBOARD CITY

Building your own cardboard model city is a fantastic project to keep the kids occupied during the school holidays or over a rainy weekend. We love doing craft projects where you use recycled materials to create your own toys. It is not only cost effective and sustainable but also fantastic for extending the play of other toys like cars, diggers, dolls or soft toys, who now have a new city to inhabit! This project is fantastically open-ended, just let your children's imaginations run wild creating their own imaginary city.
MATERIALS:
- Cardboard - we used some old packing boxes
- Marker pens
- Scissors
- Craft knife
- Sticky or masking tape
HOW TO:
First my 5yr old began by drawing out all the different components he wanted in his city which included roads, stop signs, zebra crossings, houses, sky scrapers, roundabouts and trees.

I then helped him to cut out all the pieces using scissors and a craft knife, the thick cardboard was a little tricky for him to cut.

I then made cross section stands so all the buildings and trees could stand up. He then began to assemble his city joining sections of road together using tape.

My kids loved making and playing with this DIY cardboard city so much, that we decided to make a new version and include it in my first kids craft book UNBOXED: Adventures in cardboard. The book full of craft ideas all made with cardboard boxes and household recycling. Each of the project ideas is something that your kids can make and then play with.
SHOP OUR FUN & EASY PRINTABLE ACTIVITY SHEETS
Shop our range of awesome printable activity sheets and colouring pages. We have everything your little artist needs to explore famous artists, STEM projects, animals, magical worlds and much more.
See our full ranges of PRINTABLE ACTIVITY SHEETS HERE >>>


