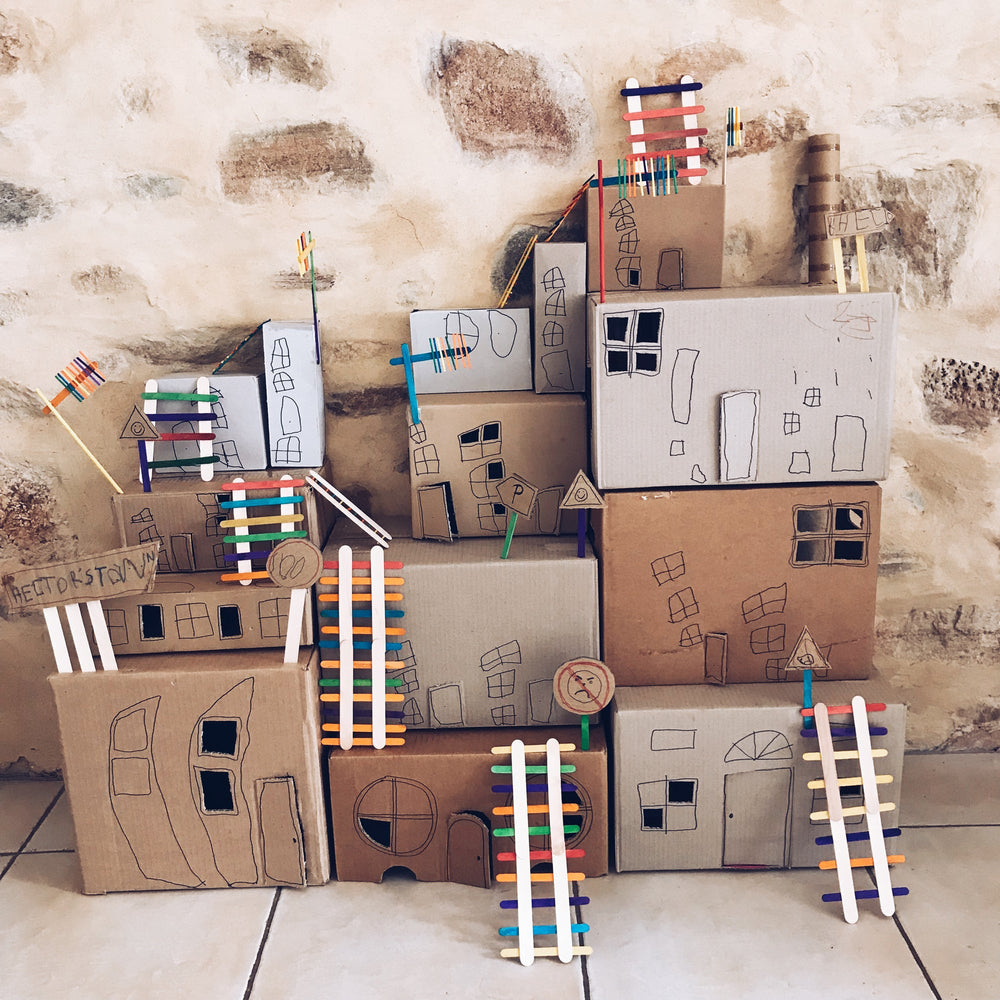
CARDBOARD BOX TOWN

We had been planning this project for a while. My boy had spotted some big cardboard box city creations on Pinterest and wanted to make one. So we started saving boxes!
In a world of finite resources and growing consumption I love to encourage the creative use of simple recycled materials, like the humble cardboard box, to create play. Encouraging our little ones to re-purpose what they already have is not only great for our planet, it also requires creative thinking to see new possibilities beyond the original purpose, helping our children become the resourceful inventors of the future.
MATERIALS:
- Different size cardboard boxes
- Markers
- Craft knife
- Paddle pop sticks, match sticks and dowels (optional)
- PVA glue
- Hot glue gun or tape
HOW TO:
The first job I did was to take all the boxes apart, turn them inside out and glue them back together so there is blank cardboard on the outside. This isn't 100% necessary but it just makes the boxes a little nicer to draw on and decorate. Then my boy began drawing all the doors and windows onto each house.

I then cut out doors and windows for him with a sharp craft knife. The boy then began to assemble the town. Initially we planned to stick all the boxes together but we soon realised it would be much more fun if you could knock the town down and rebuild it in a different way.

We then made lots of ladders, sign posts and TV antenna for the town using paddle pop sticks, match sticks and cardboard.

Then assemble your town!


Since making this first city, we have done this project a few times. This is our most recent creation: RAINBOW CITY

Happy crafting friends!
SHOP OUR FUN & EASY PRINTABLE ACTIVITY SHEETS
Shop our range of awesome printable activity sheets and colouring pages. We have everything your little artist needs to explore famous artists, STEM projects, animals, magical worlds and much more.
See our full ranges of PRINTABLE ACTIVITY SHEETS HERE >>>

